Plumbing advice
Kitchen sink overflow pipe
01 Jul 2021 • 7 minutes
Overflow pipes are all over your house – inside and out – helping you to prevent overflows of your household water supply so you don’t flood your kitchen or bathroom.
Your kitchen sink overflow pipe helps regulate the amount of water in your kitchen sink and syphons it off down the drain if the level gets too high. If you develop a leak you’ll need to know which kitchen sink overflow parts to buy to replace any old, worn-out bits, and also how to fit a new kitchen sink overflow pipe, if it’s beyond repair.
If you’ve got a blocked kitchen sink or blocked outside drain, those are separate issues. However, if you’re pretty sure you have a leak under the sink from your overflow pipe, this guide will show you what to do and how to fix it.
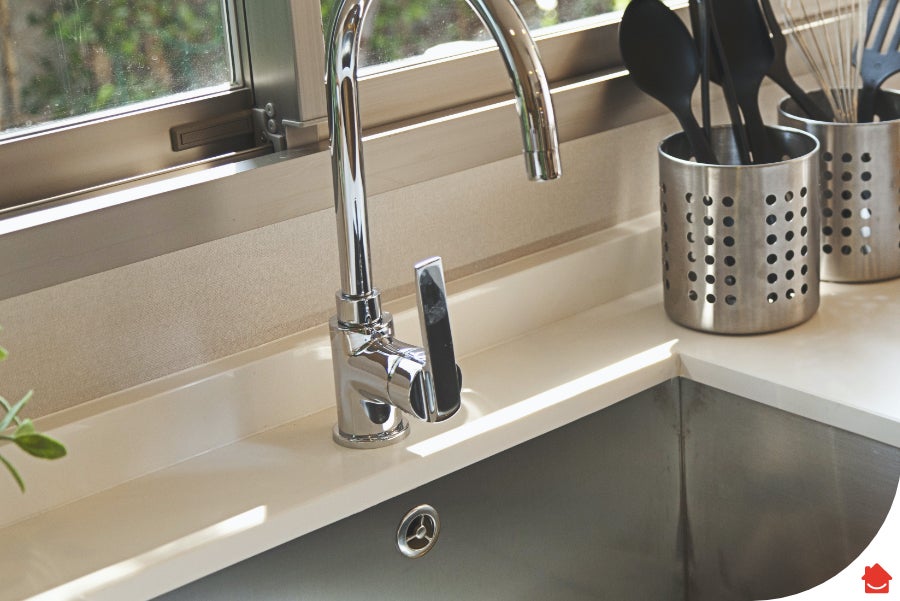
The overflow on a kitchen sink is a small opening that’s found at the back of the sink, underneath the taps and just below the rim. It’s connected around the back of the sink to a pipe that leads underneath and down into the drain. As mentioned, these overflows can be found in bathroom basins, baths and kitchen sinks and are your faithful friends, helping to stop your sinks from overflowing if you or someone else in your household accidentally leaves the tap running when the plug is in.
Unlike other overflow pipes, where an indication of a problem is the overflow pipe leaking outside the house, with an overflowing sink, you’ll see the problem in the sink itself.
In the very unlikely event that your kitchen sink overflow pipe gets blocked (there’s usually a substantial guard over the opening), your sink may fill up and flood. The simple solution to an overflowing sink is to pull out the plug and allow the bowl to drain.
However, it’s more likely that your overflow pipe will develop normal wear and tear – perhaps a worn-out washer or fault in the pipe – and start dripping into the cabinet underneath the sink.
A leaking sink is almost always caused by those hard-working washers, the plastic or silicone seals between the sink and the strainer, getting old and worn, so your overflow pipe may not be the problem after all.
What you’ll need:
Our top tip to make things much easier for yourself is to remove the kitchen cupboard doors if they’re going to get in the way of you accessing the pipes and underneath the sink. This gives you way more wiggle room.
Place a bucket or container underneath the sink to catch any water that spills out.
An easy way to detect where the leak is happening is to fill the sink with water while the plug is in. Then run your eyes over all the piping underneath the sink, and all the connections, including the cold and hot tap feeds, the pipe coming from the overflow around the back of the sink and around the compression fittings. You’re looking for any signs of drips or moisture, which may be tiny. You can also check the level of water in the sink to see if it’s dropped at all.
The most common source of a leak underneath the kitchen sink is a worn washer – usually the one between the bottom half of the strainer unit directly beneath the sink and the rest of the waste pipe.
Identify where the leak is coming from – it could be the washer we just mentioned or any one of the pipes or connections under the sink, so check slowly and carefully.
Once you’ve identified the washer, pipe or connection that has the leak, you’ll need to source a replacement. You can buy a washer, or a waste and overflow kit from a DIY or plumbing shop if it’s your overflow pipe that is leaking. You can also get a simple overflow pipe replacement. If the leak is happening further down in the waste pipe, you’ll need to buy a kitchen sink waste kit or replacement washers.
Nice work on diagnosing your leaking overflow pipe! Once you’ve sourced a replacement overflow pipe or waste and overflow kit from your nearest DIY shop, it’s time to put it all together under your sink. If you identified the source of the leak to be a worn washer between the strainer and the rest of the waste pipe, you can also follow the steps below to replace it.
Turn off your water supply at the stop tap (usually under the kitchen sink) by turning it clockwise. You don’t want any running water at this stage in the game, so let everyone in the household know the water will be switched off for about an hour.
You may need to remove your existing washer, or waste and overflow pipe to replace it with the new one. If it’s literally just your overflow pipe that is leaking, not the washers, skip to step 5.
Now, if you’re checking the washers or replacing the waste as well as the overflow, unscrew the long screw at the centre of your existing waste strainer, right in the middle of your sink. Underneath the sink, you’ll be able to take away the bottom part of the strainer unit and washer. On the top of the sink, you’ll now be able to remove the top part of the strainer unit, along with the washer in between.
Give the area a really good clean, above and below the opening. Be careful not to cut yourself, as the curved edge is typically sharp.
If your problem was just that the washers above and below the opening were worn, simply replace them and put everything back together. Switch the water back on and check it’s all watertight and working properly. Job done!
If you need to replace the overflow pipe, you’ll need to remove the existing one. Inside the sink, unscrew the screw where the overflow opening is. Now you’ll be able to go underneath the sink and disconnect the top of the overflow pipe.
Disconnect the other end of the overflow pipe from the strainer underneath the sink. It should easily come away. Skip to step 9 to connect the new overflow pipe without having to replace the waste as well.
Now you need to disconnect the old strainer completely from the rest of the P-trap underneath, so unscrew the plastic compression fittings and it’ll be released.
You can now install your new waste and overflow. Insert it into the compression fitting and gently tighten it.
Connect the bottom of your new overflow pipe to the strainer.
Attach the top of the overflow pipe to the opening on the side of the sink (it’s usually on the side) – it often hooks in. Then screw the screw and gently tighten it.
If you’ve replaced the waste as well as the overflow, you’ll need to put a new washer in between the bottom of the strainer unit and the sink. Make sure it’s watertight as you fasten it with the top of the strainer unit and the washer screwed in at the top.
Et voilá! All that’s left to do is double-check your steps and then switch the water back on, and fill the sink halfway to check for leaks, then overfill the sink to check that you can depend on the new overflow to do its job.
You’re likely now a hero in your own kitchen – go you! However, there are often problems with our plumbing and drainage that we can’t fix on our own. Take a look at our Plumbing and Drainage cover for ultimate peace of mind. We have teams ready to come to your rescue when you need us the most.
You can buy a replacement overflow pipe or a waste and overflow kit from all good DIY shops. Be sure to switch off your water at the mains while you replace it, and double-check all the connections are watertight before you start using it again.
Pipes work hard every day, so one or two will inevitably get worn out over time – as long as you’re not putting anything harmful down the sink, like bleach. Identify exactly where the leak is happening and see if tightening the connections stops the problem. Generally, worn-out washers (the seal between the sink bowl and the pipe below) are to blame for leaking sinks.
Our help & advice articles cover Plumbing, Home heating, Electrical, Energy-saving and Home maintenance.