Plumbing advice
How to repair a leaking shower mixer valve
26 May 2021 • 5 minutes
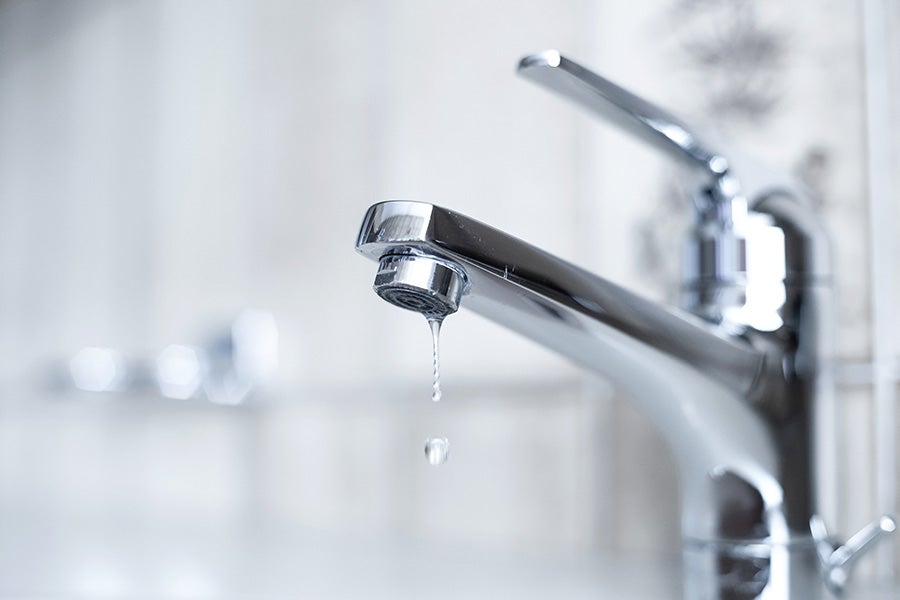
There’s nothing quite as inconvenient as a shower that’s out of action because of a leak or a fault. Hot coffee is good, but it can’t replace the feeling of a piping hot shower in the morning. So, if your shower mixer tap is leaking, you’ll want to sort that out straight away. This guide will show you the steps to take.
Beyond just ruining your morning routine, a leaking shower can have other, unseen consequences. Check out our article on the damage a leaking shower can do to your bathroom to arm yourself with the facts.
This all depends on how old your shower is, whether it routinely gets blocked or whether or not you’re satisfied with the amount of pressure or the look of it. If you’re in two minds, read our handy guide to deciding whether to repair or replace your shower here.
If your shower mixer tap comes out of the wall and is leaking, it’s probably the cartridge inside the mixer tap that needs to be replaced.
These next bits will show you how to repair your leaking shower mixer valve or replace it:
Tools and materials you’ll need:
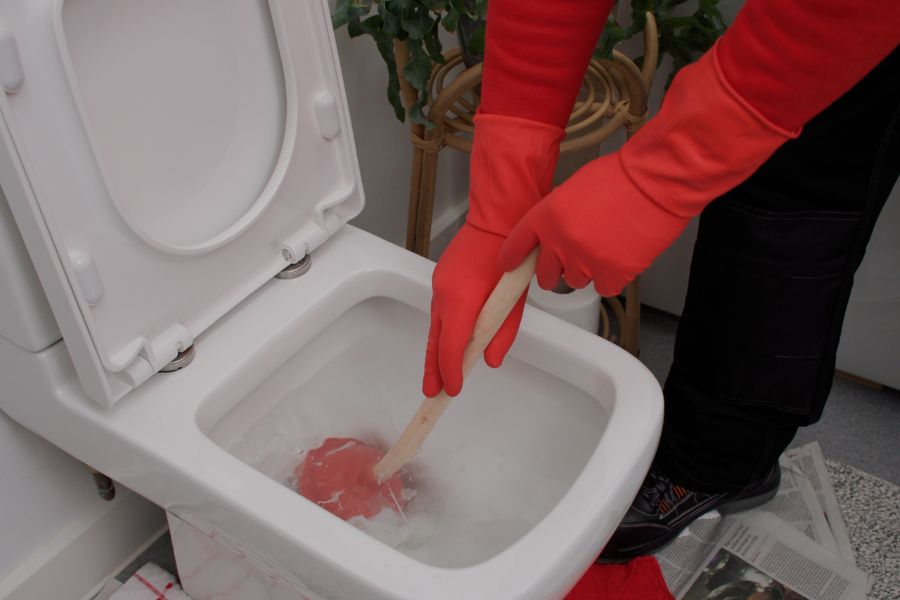
1. Turn off your hot and cold water supply
You’ll need to turn off your water mains at the stop tap. This is usually found in the cupboard underneath the kitchen sink. If it’s not there, it may be in an airing cupboard.
2. Open your shower mixer tap and let the excess water in the pipe run out
There’ll be excess water in the system so just wait until it all trickles out so you can start work.
3. Remove the cover underneath the mixer tap handle
You can normally pop it off with a flathead screwdriver.
4. Now unscrew the small grub screw inside
You can use a small flathead screwdriver or an Allen key.
5. Remove the tap handle
Gently ease it off.
6. Is there a chrome dress ring or cover plate?
If so, you’ll need to take that off next.
7. Now unscrew the retaining nut with your pliers
This holds in the cartridge so you’re nearly there. A bit of excess water may come out as you do this, but that’s nothing to worry about.
8. You’ll now be able to pull out the cartridge from the wall
9. Get the right replacement cartridge
There are a number of different types of cartridges available so it’s important to get an exact match. It’s best to take your old cartridge to your nearest DIY store and get them to match it with a replacement.
10. Now replace the cartridge
Make sure the locating pins line up with the corresponding parts in the wall.
11. Reassemble the mixer
You’ll need to reassemble the parts in the opposite order that you disassembled them.
12. Turn your water supply back on
Now you can test your shower. Ahhhh that’s better!
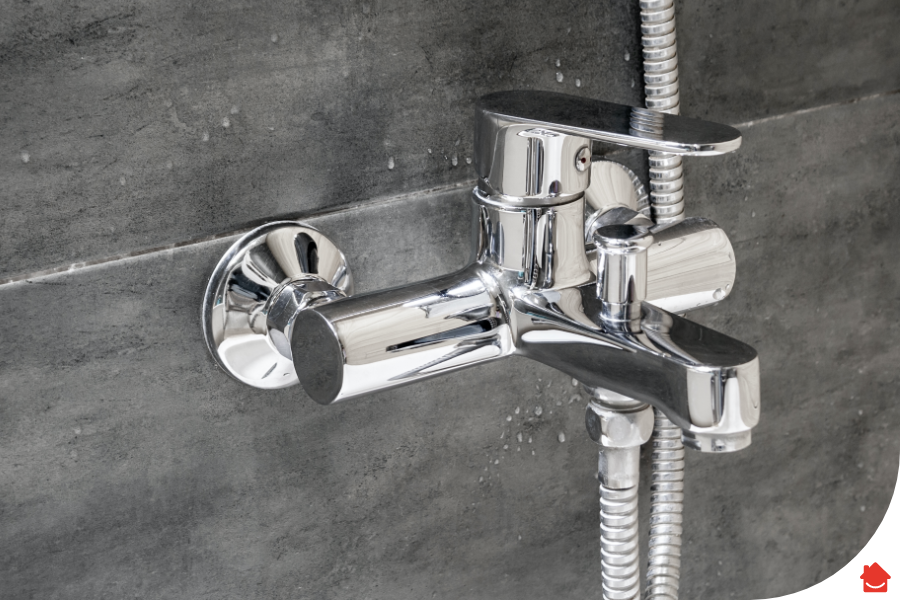
If your shower hose is connected to the bath mixer tap, the method and materials are slightly different:
Tools and materials you may need:
1. Turn off your hot and cold water supply
You’ll need to turn off your water mains at the stop tap. This is usually a tap found in the cupboard underneath the kitchen sink. If it’s not there, it may be in an airing cupboard.
2. Open your bath mixer tap and let the excess water in the pipe run out
There will be excess water in the system so just wait until it all trickles out so you can start work
3. Now you can start dismantling the mixer tap
Use your screwdriver to unscrew any screws behind the mixer tap.
4. You can now remove any cover plates
5. Now you can get to the valve
You should now be able to see the gasket, which is a rubber ring.
6. Use plumber’s putty to replace an old gasket
You’ll want to examine the gasket for any wear and tear. This could be the cause of the leak and can be fixed by replacing it with plumber’s putty, to help form a waterproof seal.
7. Replace any washers at the shower stem
The shower stem is where the hose comes out of the valve. You may have to take off a cover. The small rubber rings are washers that are cheap to replace, so remove and replace all of the washers in the shower stem to save yourself some time.
8. Check the shower stem for any damage
You should check everything for damage as you go, as this could be causing the leak.
9. Clean the exposed pipes
Clean pipes around the mixer valve prior to refitting
10. Put the mixer valve back together
Do this in the reverse order of how you took it apart.
11. Now switch your water back on at the mains
12. Switch your shower on now
It should now be free of any leaks.
If you’ve tried either one of these methods and your shower mixer valve still leaks, your shower will need to be replaced. Call in a professional to get this done, as the process is complicated, and a novice could potentially damage their bathroom plumbing by attempting it.
Try replacing the cartridge (for a mixer tap in the wall) or washers (for a bath/shower mixer tap). If this doesn’t give you a quick fix, call a professional plumber, you may need to replace your shower.
It’s probably the shower cartridge that needs to be replaced. Follow the steps to safely replace it with an exact-match cartridge (there are many different types to choose from) and it’ll most likely get rid of the problem.
It’s not safe or wise to replace your shower cartridge without switching off your water supply at the mains first.
A replacement mixer tap cartridge can cost anywhere between £5 and £40, depending on its functionality. However, it’s fairly easy to replace yourself, so you won’t have to pay to call out a professional plumber.
Our help & advice articles cover Plumbing, Home heating, Electrical, Energy-saving and Home maintenance.