Plumbing advice
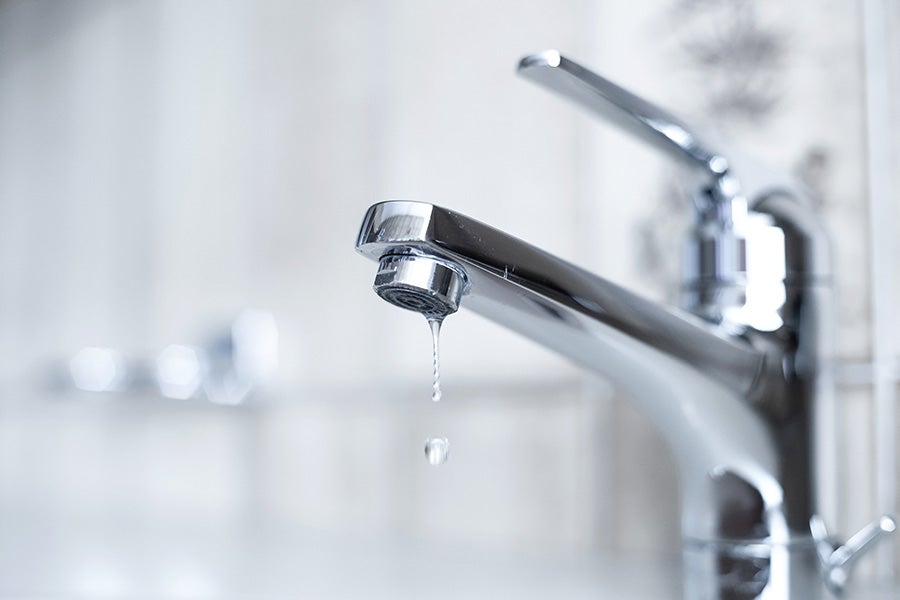
How to fix a dripping tap
12 Feb 2021 • 8 minutes

Plumbing advice
12 Feb 2021 • 8 minutes
Gather and keep all of your tap repair tools in one place for ease of access if a leak should occur. You will need the following:
Top tip: Don’t over-tighten a washer or valve when reassembling. This may damage or cause excess stress on the joint

If you have separate hot and cold taps that each need turning more than a quarter turn to achieve a full flow of water, this means that you’ve got traditional taps (also known as compression valve taps).
Follow these simple steps to fix a dripping compression valve tap:
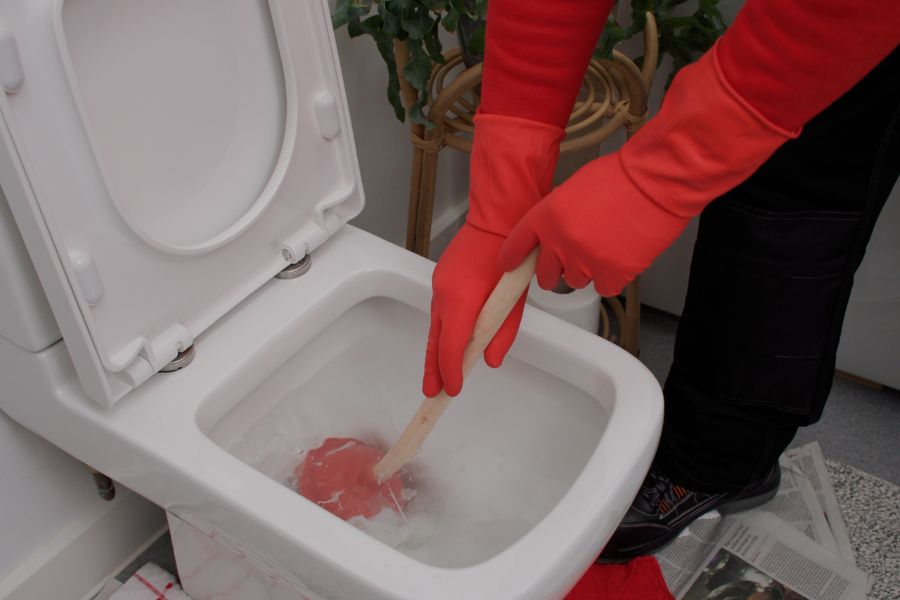
Locate the isolation valve often found on the pipes underneath or close to your sink and use your screwdriver to turn this off.
If your sink doesn’t have an isolation valve, or you can’t find it you should turn your water off at the stopcock instead. This can usually be found under your kitchen sink.
To remove the tap cover you are looking for the screw underneath.
You can usually unscrew these caps by hand, or with a flathead screwdriver but in some cases, you may need to use an Allen key.
Different taps may have different types of cap or cover. You are looking for the screw underneath. If you have decorative hot and cold caps, you may find the screw beneath those. On a single lever tap, check below the hot and cold indicator.
You can usually unscrew these caps by hand, or with a flathead screwdriver. In some cases you may need to use an Allen key.
You should now be able to see the screw at the top of the tap head. You’ll need to loosen it completely to get inside the valve and make repairs.
Although there are different types of compression tap valve covers, the process for dismantling the tap head is the same for both types:
Top tip: Lay all of the items removed on the side of the sink or a towel, in the order that you took them off. This will make it easier to reassemble your tap once you’ve fixed it.
Run your finger inside the tap to check the tap seating. You can identify a damaged or worn-out tap seat by small canals eroded into the metal of the seat. To fix this:
If the tap seat is eroded, and you’ve carried out one of those two fixes, try putting your tap back together. Turn your water back on and test the drip—you may find it was the seat and not the washer that was the issue.
The next element to check is your tap washer. Examine this for wear and tear, and replace it if necessary.
Once you’ve reassembled your tap, turn on the water and check for any drips. With the seat and the washer checked and/or fixed, there should be no more leaks.
Some modern taps turn only a quarter of the way. These can often be identified as ceramic disc taps.
Top tip: When fixing a ceramic disc tap it’s best to remove the ceramic disc valve and take them to a plumbing merchant or DIY store. This will ensure you purchase a like-for-like replacement.
Locate the isolation valve often found on the pipes underneath or close to your sink. Use your screwdriver to turn this off.
If your sink doesn’t have an isolation valve, or you can’t find it, turn your water off at the stopcock. This can usually be found under your kitchen sink.
Run the tap until there’s no more water left. Your taps must be completely drained before you can take apart the dripping tap. Remember to plug your sink afterwards, to prevent losing any small parts.
There are thousands of different styles of ceramic disc taps, but all will have removable tops, or ‘headgear’, as plumbers call it. Check around the headgear for ways in as there are a few different ways you can do this.
Mixer taps have moveable spouts that may drip or leak from the bottom. If this happens, it’s likely to be your O-ring that needs replacing at the bottom of the spout, rather than a mixer tap washer replacement.
This can be done in 6 simple steps:
Although not immediately dangerous, if left unfixed a dripping tap can cause water to pool leading to the growth of harmful mould. There is also the potential for water damage to the surrounding floorboards and cabinets making them weaken and rot alongside stress on the plumbing system.
A dripping tap can get worse over time. The longer it is left, the more issues it can cause, especially if you’re continuing to use the tap. This can also lead to a more costly repair so it’s best to fix your leaking tap as soon as you can.
If the water is only dripping, is contained to flow down your sink, and doesn’t cause any immediate danger then it’s not classed as a plumbing emergency.
If you’re unable to fix the leaking tap yourself, you can always call on a professional plumber to repair it for you.
If you tap drips every second, you could be wasting approximately four litres of water a day. That’s almost enough to fill a bath! It’s easy to see how a dripping tap could be costly over time if left unchecked.
If you've tried everything and you can't stop your tap from leaking, then it's time to leave it to the professionals.
With Ding, a home repair membership designed to help you get the job done, you can now access our qualified plumbers in just a few taps.
Book your job today with plumbing repairs from £95.
Our help & advice articles cover Plumbing, Home heating, Electrical, Energy-saving and Home maintenance.