HomeServe USA
 HomeServe Canada
 HomeServe Spain
 HomeServe France
Energy saving advice
Loft Insulation Guide
16 Apr 2021 • 12 minutes
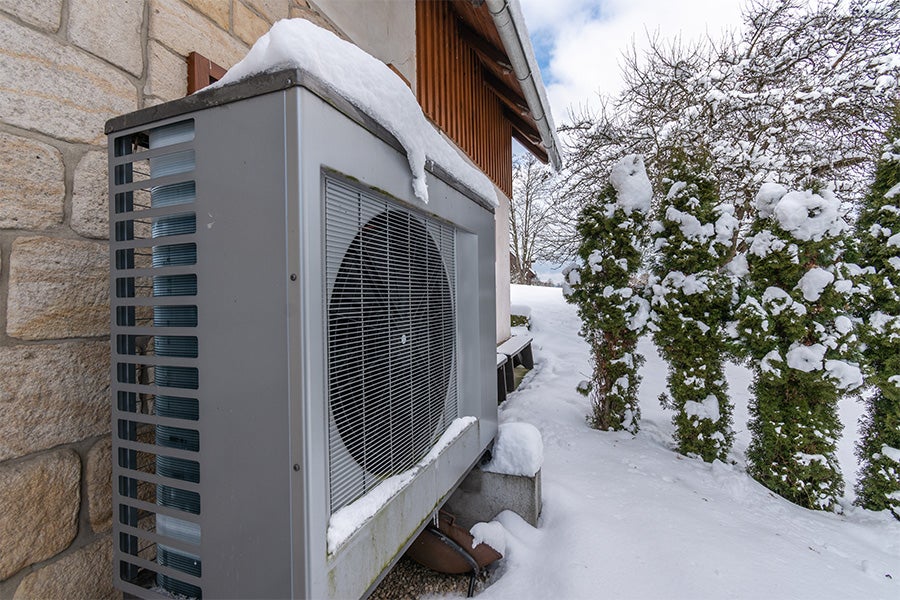
Is your roof a snuggly warm nest for passing pigeons? If you haven’t insulated your loft, you probably have a few feathery freeloaders toasting themselves on the heat you’re losing through your roof. The Energy Saving Trust estimates that 25% of the lost heat from your home goes through the roof – quite literally, to reclaim your lost heat (and cash), you may want to consider insulating your loft.
This loft insulation guide will help you work out if loft installation is a sound investment for you, what the benefits are and if you’re so inclined, give you step-by-step advice on how to insulate a loft yourself.
If you’ve just started looking into insulating your home and want to prioritise your cost savings, start with our guide to insulate a house. Already know what you want to tackle first? Why not check out our cavity wall insulation and floor insulation guides for step-by-step instructions on installing insulation to save yourself from further heat loss in the home.
Loft insulation is basically a barrier of material installed within your roof space to slow down the transfer of heat in your house from your living space and the outside world.
The material is either:
Installing loft insulation may be something you can do yourself, depending on your level of DIY mastery and on which loft insulation option you choose. Alternatively, you can hire a qualified specialist installer. Remember to always check for damp and condensation issues before starting loft insulation.
There are many different types of loft insulation, all varying in cost, durability and insulating performance:
This is the most commonly used insulation type for easily accessible lofts. Available in rolls and can include glass and mineral wool, or sheep’s wool (both are readily available, with sheep’s wool slightly more expensive). This is suitable for simple DIY jobs where you can access the space easily and there’s no damp or condensation issues.
Top tip: to work out how many rolls of insulation you need, calculate the area in m2 (length x width = number of metres squared) and check the coverage of the rolls. Take off around 10% to allow for ceiling joists.
Also available in rolls, these include Earthwool (which is pricier than mineral or glass wool, but not quite as expensive as sheep’s wool) and other Eco-friendly or recycled materials.
Multifoil insulation is made using multiple layers of aluminium foil alternated with breathable foam wadding. It was developed for commercial use following its success in the NASA space programme – so if it’s good enough for NASA, it’s good enough for your loft.
Multifoil insulation can also be a sustainable choice, if you opt for one made from recycled materials. It’s also available in a range of thicknesses so you can choose what’s best for your loft.
If you’re not sure your insulation job is simple or more complex, check through the following to see whether it can easily be done yourself or it’s a job for the professionals.
Some homes already have insulation in between the loft joists, but it doesn’t quite hit the current building standards or is no longer optimal. The National Insulation Association says the recommended depth for loft insulation to maintain those impressive cost and energy savings is 270 millimetres for glass wool, 250 millimetres for rock wool and 220 millimetres for cellulose.
If this is you, usually you can ‘top-up’ your insulation yourself. Simply, measure the depth of the existing insulation. Ideally, it needs to be 100 mm deep and come up to no more than 25 mm above or below the joist. You can then lay the second layer of 170 mm over the top of the joists to get you to the recommended building regulations guide of 270 mm.
If you want to use the loft for storage, you’ll need to lay boards over your insulation – and there needs to be 50 mm clearance between that and the board to prevent moisture and condensation, so you may need to raise the boards with storage stilts. Depending on your DIY competence and loft space, this usually doesn’t require a professional.
If you want your loft to be a living space, you’ll need it to be warm. To do this, you have to insulate on your sloping roof, between the rafters. This can be a more complex task than standard insulation between the joists. Remember you’ll need to insulate not just the rafters but also the party walls and gable walls, as well as any other uninsulated parts of the room. Otherwise, all your heat (plus money and effort) will waft through one of those gaps. We recommend you outsource a warm loft job to seasoned professionals.
This is a job for a professional installer, who uses specialist equipment to blow granules of cellulose fibre or mineral wool insulation into your loft, then treats it to make sure it’s fire retardant. This generally takes just a few hours, depending on the size of your loft.
We suggest getting professional advice from a builder or damp expert before you consider a loft insulation project. Talk to them about sorting out the damp before you think about insulating the loft. Insulating between the joists will make your loft colder, which could make the damp worse. So if you decide to insulate your loft you may also need to increase the amount of ventilation, and in that case, you’ll need Building Control Approval.
If you have a flat roof (pitched at less than 18°) you need to take a different approach. You can either choose a warm roof, which is when the insulation is placed on top of the roof, or a cold roof, which is when the insulation is placed between and under the joists. This is also definitely one for the pros.
If you’re looking for a professional installer, the National Insulation Association (NIA) website is a great place to find members in your area who follow the NIA code of professional practice.
If you are eligible for the government’s Green Homes Grant scheme. It’s designed to help homeowners in England with the cost of installing anything that could be considered ‘green’ and sustainable. You can apply for vouchers worth up to two-thirds of the cost of making your home more energy-efficient – up to £5k per household. To check if you’re eligible, visit the website.
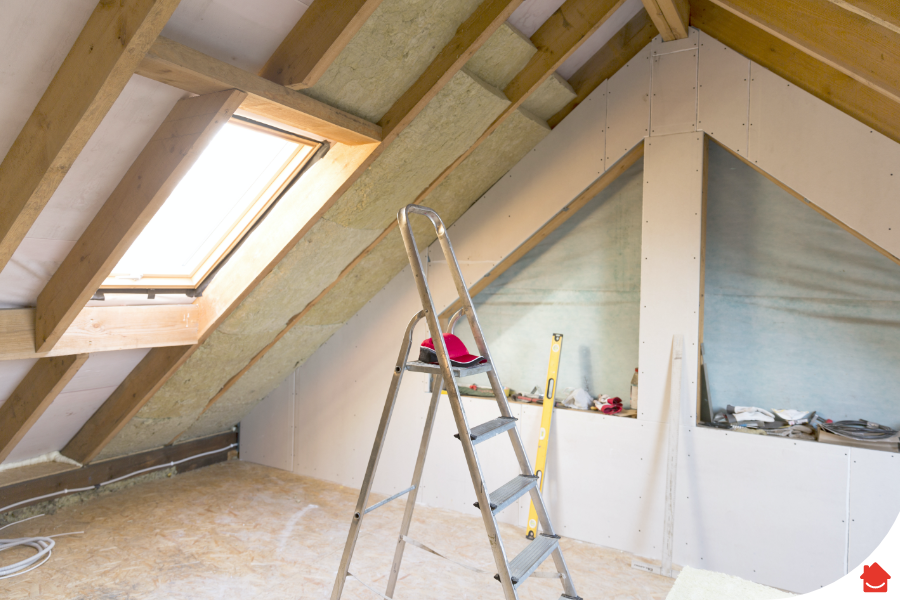
This guide will cover how to lay loft insulation roll and floorboards. At the risk of repeating ourselves, if you’re looking for warm loft insulation or more complex installations such as insulating in restricted spaces, or prepping your loft as a living space, we do recommend you call a professional.
If you have a cold-water tank and pipes in your loft it’s important to protect them before you insulate your loft, as it will soon be a colder loft. Essentially you need to:
a) Measure your cold-water tank in advance.
b) Buy an appropriate tank jacket and pipe lagging material
c) Fit the tank and pipe insulation before you start laying the loft insulation.
If you’re going to install loft insulation yourself, you can buy loft insulation material in varying types and thicknesses from all of the major hardware stores, along with accessories like storage stilts for raising your boards. You can get more specialist types like eco and multifoil insulation online.
If your loft joists are regular, you can use rolls of insulation:
Top tip: insulate around electric cables. Insulation shouldn’t be laid over any electric cables. Clip them to the roof joists if you can or gently move them out of the way whilst you install, before placing them back over the insulation once you’ve laid it.
A boarded loft is a great decluttering tactic. With some extra storage space in the loft, you get more usable space within your home, potentially increasing its selling value, as well as giving you a better environment to live in. Begin by removing any stored items so the space is clear from clutter and use good lighting where possible.
Top tip: You may need to use a hammer to lightly tap in the infill pieces before screwing them in.
If you’re looking for a professional installer, the National Insulation Association (NIA) website is a great place to find members in your area who follow the NIA code of professional practice.
Can you have too much loft insulation?
Yes. The optimal amount of loft insulation is 270-300 mm deep. This ensures there is adequate ventilation. Over-insulate and you risk moisture and condensation getting trapped, which encourages mould to grow, which is a big no-no.
Should a loft be hot or cold?
A warm loft is required for a loft conversion. If your loft is going to be a living space it needs to be warm, so you insulate immediately under the roof, between the rafters. A cold loft can be used as a storage area or left alone. In this case, to save energy and money, you insulate immediately above the ceiling of the top storey of your home, so no heat from your bedrooms escapes into the loft and through the roof.
Should I remove old loft insulation?
Don’t remove old loft insulation unless you really have to. It’s a potentially hazardous job that’s best left to professional contractors. Topping up your existing insulation is perfectly adequate, making sure you reach the required depth of 270-300 mm to get all the cost-saving benefits.
At HomeServe, we know how important it is to protect your home – you can choose from a range of cover to protect your boiler and plumbing and we’ll help keep your home the perfect temperature all year round. Take a look at our boiler and plumbing cover options to find what best suits your needs.
Our help & advice articles cover Plumbing, Home heating, Electrical, Energy-saving and Home maintenance.