Understanding your boiler
How do thermostatic radiator valves work?
19 Apr 2024 • 7 minutes

Understanding your boiler
19 Apr 2024 • 7 minutes
Thermostatic radiator valves (TRVs) are an easy and inexpensive way to separately control the air temperature of individual rooms in your home. The main benefit of thermostatic radiator valves is that they automatically give you room temperature control, and they help you heat your property more efficiently, which saves you money on your heating bills – IF you set them up in the right way.
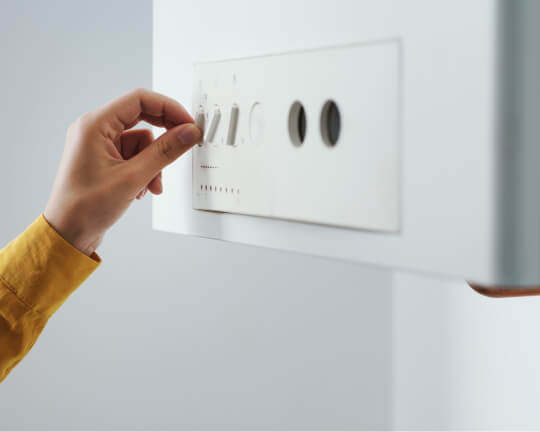
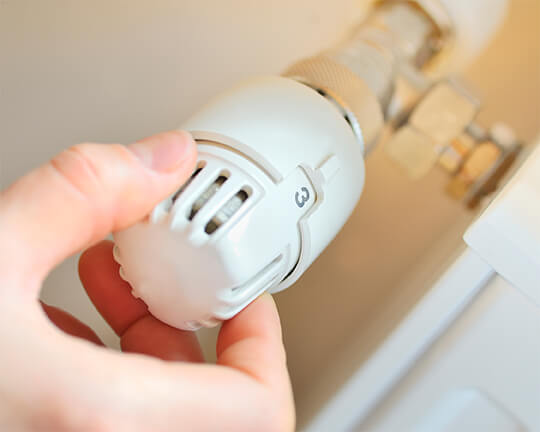
If you’ve got thermostatic radiator valves or TRVs, you’ll usually find them on the side of your radiators. A radiator control valve looks like a cylindrical dial numbered from 0-6 that you can manually twist. If set up correctly, radiator valves allow you to have one centralised boiler providing the heat, with differing levels of heat throughout different rooms in your house.
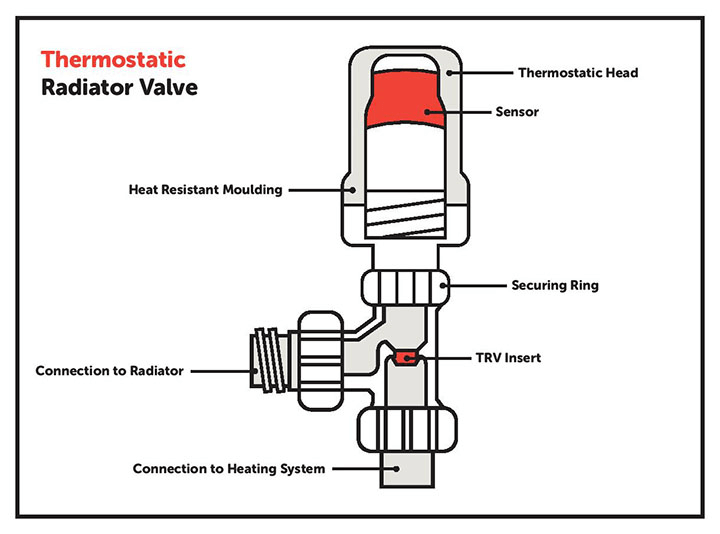
A TRV is made up of two parts; the thermostatic valve head (with the dial) and the valve body underneath, which fixes onto the pipe coming from the boiler and going into the radiator.
Depending on how you set the valve, it adjusts the flow of water that goes into your radiator from the boiler.
As the room heats up, a capsule in the valve head expands, which moves a pin in the valve body that causes it to close, which means it receives less hot water into the radiator. As the room then cools, the capsule in the head contracts again, pulling the pin out of the valve body, allowing hot water to enter the radiator again.
Thermostatic radiator valves come in two main designs: with either a wax or liquid capsule.
A liquid thermostatic radiator valve is the technically more efficient model, as liquid is more responsive to room temperature changes than wax. This means your room heats up quicker.
The wax capsule in older TRVs is slower to expand and contract in response to the room temperature, and are therefore cheaper.
Typical TRVs will cost around £10 – 30 each. A smart TRV can cost a lot more starting from £50.
Thermostatic radiator valves’ energy saving potential is their main draw. If you’re smart about setting up your TRVs correctly, you can control individual room temperatures and save money by avoiding the overheating typically caused by manual valves.
No. The numbers on the thermostatic valve indicate the temperature in the room, not the rad. Most people get this wrong, so don’t worry if you did!
The point of a TRV is that it detects the ambient temperature of the specific room it’s in and therefore lets more or less hot water into its corresponding radiator from the boiler.
Below is a rough guide to the room temperatures indicated by the number settings:
Don’t turn your radiators up to 11 (well, 6) in the winter! The ideal setting is actually 2 or 3. So set it there, leave it and you will be pleasantly surprised that it does its job perfectly. Anything more is a waste.
Smart thermostatic radiator valves are electronic TRVs that you can remotely control to monitor the temperature of your individual rooms and adjust from your smartphone. With all that extra control, they’re obviously more expensive than traditional TRVs!
It’s rare that you get an issue with TRVs but it is possible to encounter them. Here’s a quick rundown of potential problems and their fixes:
A sticking valve is probably the most common issue you get with TRVs. Whether it’s stuck in the open or closed position, it causes some real hassle. You usually find it’s got jammed after a long period of not being adjusted – either after a long, cold winter or a long, hot summer.
Keep your TRV in tip-top condition by occasionally lubricating the valve piston with WD40 – perhaps once a year before the big heating switch-on. This will protect it from sticking.
If the piston’s moving smoothly but your TRV isn’t actually working, its components are most probably worn out or broken. This is more likely if it’s an older TRV, so replace it with a new one.
It may be that your valve head vents have got clogged by dust and other debris. When this happens it obstructs the air that hits the liquid or wax capsule inside (which will mess up the readings). So do yearly checks and clear any dust or debris.
TRV’s should be located in a free movement of ambient air so it can monitor the air temperature correctly, TRVs which are located in enclosed areas or behind long curtains can suffer from premature close down preventing the room from reaching its ideal temperature.
Obviously TRVs should be installed on the inlet or outlet of the radiator, older TRVs had a directional arrow indicating the direction of flow with which they operate, if the TRV was installed with the direction of flow in the wrong direction nuisance banging could be heard as the valve attempted to close down. Modern TRVs are bi-directional meaning they will work correctly irrespective of the direction of the flow.
TRVs should be installed on every radiator except the reference radiator or the radiator in the same location as the room thermostat. It is important that the reference radiator remains controlled by the wheel head valves only and allows the room thermostat to control the entire heating system correctly.
TRVs should not be installed on all radiators unless a suitable system bypass is installed between the flow and return and a suitable system interlock, a device that will shut off the heating once the desired temperature has been reached i.e. a room thermostat, is also installed.
A warm, well-ventilated home is a happy home, so if you need any help repairing your radiators, boiler or plumbing, we offer one-off repairs. If you want peace of mind for life’s little plumbing surprises, take a look at our boiler cover and heating breakdown insurance.
It certainly is. You can set the room temperature for individual rooms throughout your home or property, making them energy efficient and a great money saver.
Don’t turn your radiators up to 11 (well, 6) in the winter! The ideal setting is actually 2 or 3 (15–20 °C). So set it there, leave it and you will be pleasantly surprised that it does its job perfectly. Anything more is a waste.
As a rough guide, the ‘3’ setting is around 20 degrees Celsius, which is a fairly ideal room temperature – 18-21 °C
Our help & advice articles cover Plumbing, Home heating, Electrical, Energy-saving and Home maintenance.