Plumbing advice
Should I repair or replace my shower?
18 Feb 2021 • 10 minutes
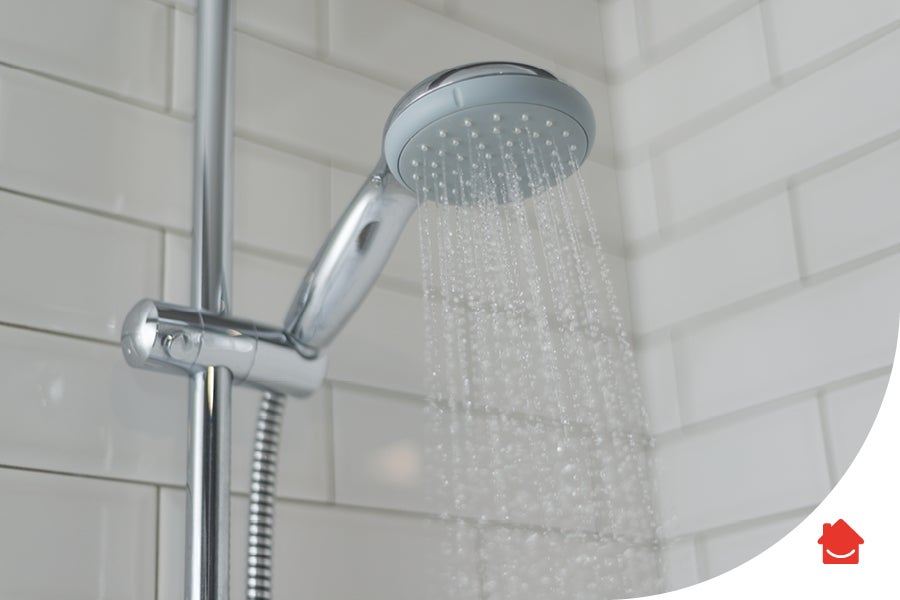
Ahhhh… a hot shower is a wake-up tonic for millions of us Brits. So when it starts blowing hot and cold, or – even worse – leaking, we need to fix it… quick.
However, if you’re homeowners or first-time buyers with an old shower on your hands, or a leak that’s gone awry, sometimes a repair isn’t possible and only a replacement will cut it. This guide will give you all the information you need to weigh up your options and make your decision easier.
This entirely depends on the nature of the problem or leak, and your level of DIY/plumbing expertise. We’ll give you tips on how to fix or replace your shower yourself, and also advise you on when to get a professional in.
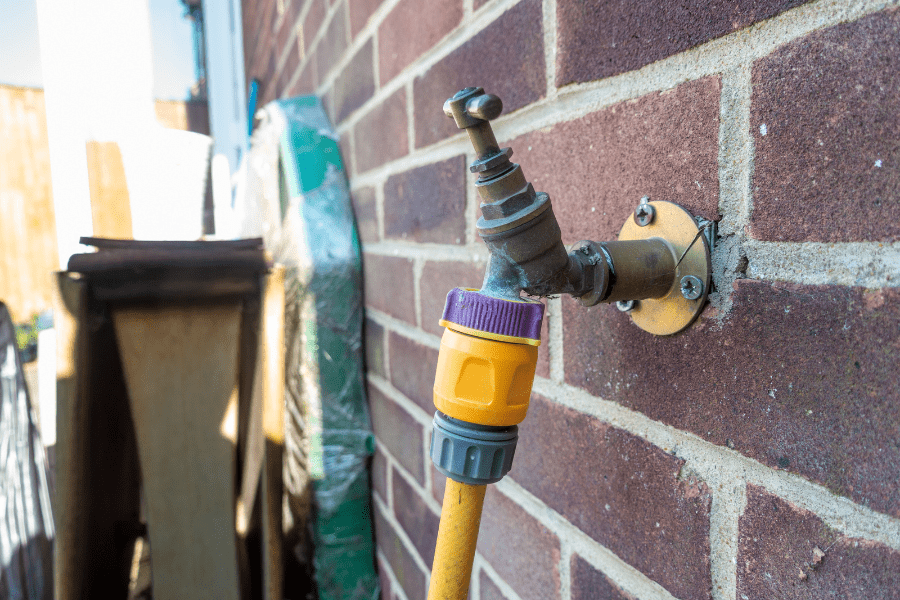
The first step is to identify the exact source of the leak. Most often it’s one of these culprits:
Tools you’ll need:
If you know that it’s just your shower head that is leaking, it’s the easiest fault to fix. Here’s a step-by-step guide:
What you’ll need:
Showerheads get a build-up of dirt particles and limescale over time, which creates blockages and stops the water from flowing properly. Soak it in a mixture of white vinegar and water, before rinsing it clean. Use an old toothbrush to scrub the showerhead thoroughly.
Examine the O ring (a.k.a. washer). It’s a small rubber ring that stops water from leaking from the join between the hose and the showerhead. If it looks damaged or worn, replace it.
Reattach and tighten your shower head by hand until it feels secure. Switch the water back on and check it’s flowing smoothly.
If you still have a leaking shower head, we’re sorry to say, it’s probably had its day. Get a replacement one and bear in mind you might have to replace the hose as well.
If the leak is coming from your shower valve, it’s a more complicated situation that might not necessarily be easy or possible to fix. Here’s our step-by-step guide:
Tools you’ll need:
Turn off your water at the mains and remove the handle from the valve. In some cases there might be a screw that can be easily removed with a screwdriver, but it’s best to refer to your shower instructions, as every show is different. This will allow you to remove any covering plates or trim so that you can access the valve. This should reveal the gasket (usually a rubber ring).
Find the shower stem, where the hose or pipe joins the valve itself. It should have a removable cover. Remove and replace all of the washers (small rubber rings) in the shower stem. This is easier and less time-consuming then testing and having to repeat the whole process again.
Check the shower stem for damage – this could also be the cause of a leak.
Before you start putting the valve back together (the reverse process to how you dismantled it), clean the exposed pipes thoroughly with a mixture of white vinegar and water.
Now turn your water back on at the mains and switch your shower on. It should be leak-free.
If it’s still sprouting a leak, try using a proper service kit suited to your shower, before thinking about replacing it completely.
If it’s the shower hose leaking, get a replacement hose (with the correct end fixings for your shower) and this should sort it.
So if none of the fixes to your shower head or valve solve your leaky shower, it’s probably time to replace it.
However, this DIY fix comes with a warning: It’s a task for the more advanced DIYer. If you’ve got some general plumbing experience under your belt, plus specific experience of soldering pipes, you should be OK.
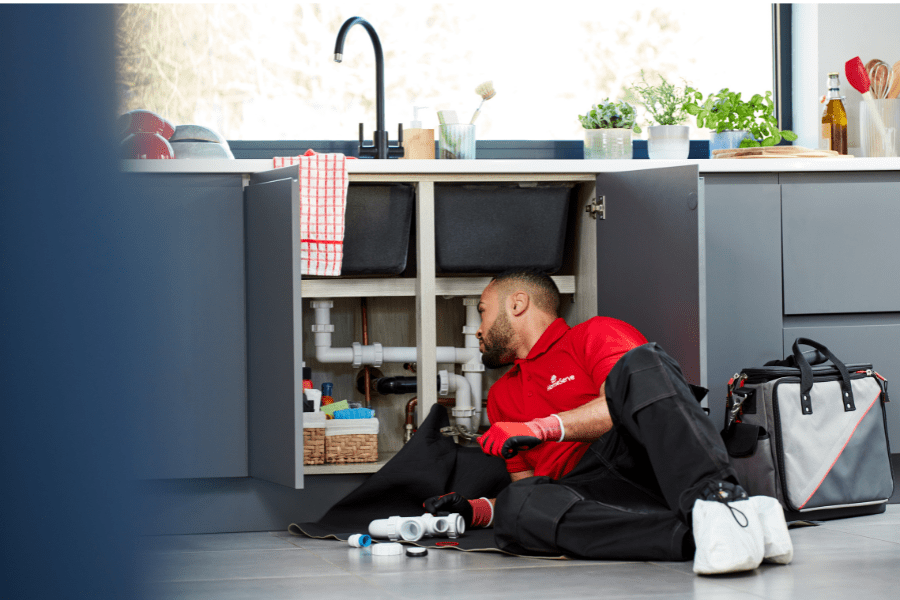
If all this sounds a little daunting, do yourself a favour and call an experienced plumber in to replace it. There are many different types of showers available, and installation can differ from model to model. You don’t want any potential mishaps or mistakes to take any enjoyment away from your relaxing new shower.
For experienced plumbing DIYers, here’s a step-by-step process to follow if you’re replacing an exposed mixer shower with a like-for-like model.
Tools and materials you’ll need to replace a leaky shower:
Turn your water off at the mains, and go through the same process of dismantling your shower as above. To remove the valve entirely you’ll need to cut it out of the wall using a mini hacksaw or tube cutter.
Take your new shower out of its packaging and position over the exposed copper pipes. Ease the valve onto the pipes, ensuring they’re pushed in firmly and securely.
To make sure the connection between the copper pipes and the valve are watertight, solder around each joint. Again, make sure you’re an experienced solderer – this isn’t a job for a novice.
It’s important to ensure your solder and valve joints are fully cooled before fitting the rest of your new shower.
Following the instructions provided by the manufacturer, fit the cartridge, ensuring the valve is set to ‘OFF’.
Switch your water back on at the mains and then test your shower by turning the valve to ‘ON’. If you’re satisfied there aren’t any leaks, fit the rest of the shower in accordance with the instructions supplied.
You may need an electric drill to complete this part.
You can buy the most beautiful shower tray in the world, but if you install it incorrectly, it can cause many potential issues. So, again, if you’re not an experienced DIYer with the skill and patience to do this installation properly, leave it to an experienced plumber.
If you’ve got what it takes to show your new shower who’s boss, here’s a step-by-step guide to installing a shower tray:
Decide on the type of shower tray you want:
What you’ll need:
Place the tray loosely where you want to install it. Screw the legs into position and adjust the height to the level you want. Briefly fit the shower tray waste and check that everything lines up correctly.
If the shower tray fits, fix the best possible route for your waste pipe if this isn’t already in place. Attach the waste to your tray then connect this to the trap.
It’s important to check all angles because a shower tray that isn’t level can cause you quite a few problems. We’d recommend you double-check it as you really don’t want this to be wrong.
The route for the wastewater needs to be as secure as possible, so make sure everything fits snugly. There’s no place for gaps or loose pipework anywhere.
Handy tip: Have a kettle full of cold water ready and pour some water into the waste. If something’s not quite right you’ll get immediate feedback!
Now for the cosmetic side of things. Attach your shower tray side panels, being sure to follow the manufacturer’s exact instructions.
Use a good quality silicone sealant to carefully seal around the edges of the tray. Run your finger along it to give a smooth finish. The sealant creates a neat bond that keeps everything sturdy and waterproof.
Low-profile shower trays are more complicated to install because they fit directly onto the floor with no gap in-between.
Tools you may need:
The floor beneath the tray must be capable of supporting it, which means completely firm with no flexibility. If it isn’t, mark out where the tray is going to go and replace any floorboards in this area with marine plywood that is at least 18mm.
This will allow you to reach the waste during installation and also if you encounter any issues in the future. A jigsaw is an ideal tool for this as it’ll allow you to be more precise with your cutting.
Measure up very accurately, then carefully cut the hole to create the space you need.
Use 5 parts building sand to 1 part cement and mix up some mortar.
Gently press the tray onto the mortar before using a spirit level to check everything is as it should be.
Apply a good silicone sealant around the edges of the tray and run your finger along it to give a smooth finish.
If it’s just the showerhead or the valve that are causing the leak, then fixing or replacing those parts is a quick job and the replacement parts are relatively cheap. If you need to replace a shower, this task should only be done by an experienced plumber or at least a very experienced DIYer with soldering experience. Do not try to keep costs low by attempting this yourself. It’s possible to make some costly mistakes this way.
If you have a mixer shower over your bath and you use a shower screen with a hinge, it can sometimes leak after a while as it gets older and less/more flexible.
Our plumbing and drainage cover keeps you protected when it comes to things like burst pipes, blocked drains and dripping taps. If you need professional plumbers, we’ll be on our way as soon as we can.
If it’s just the showerhead or the valve that is causing the leak, fixing or replacing those parts is a quick and relatively cheap job. If you need to replace a shower, this task should only be done by an experienced plumber or DIYer. Don’t try to lower costs by attempting this yourself.
The typical shower lasts just over four years until it develops a fault, according to a recent survey of over 1,700 owners.
Yes. An experienced plumber will replace your shower like-for-like or help you install a different kind of model.
Our help & advice articles cover Plumbing, Home heating, Electrical, Energy-saving and Home maintenance.